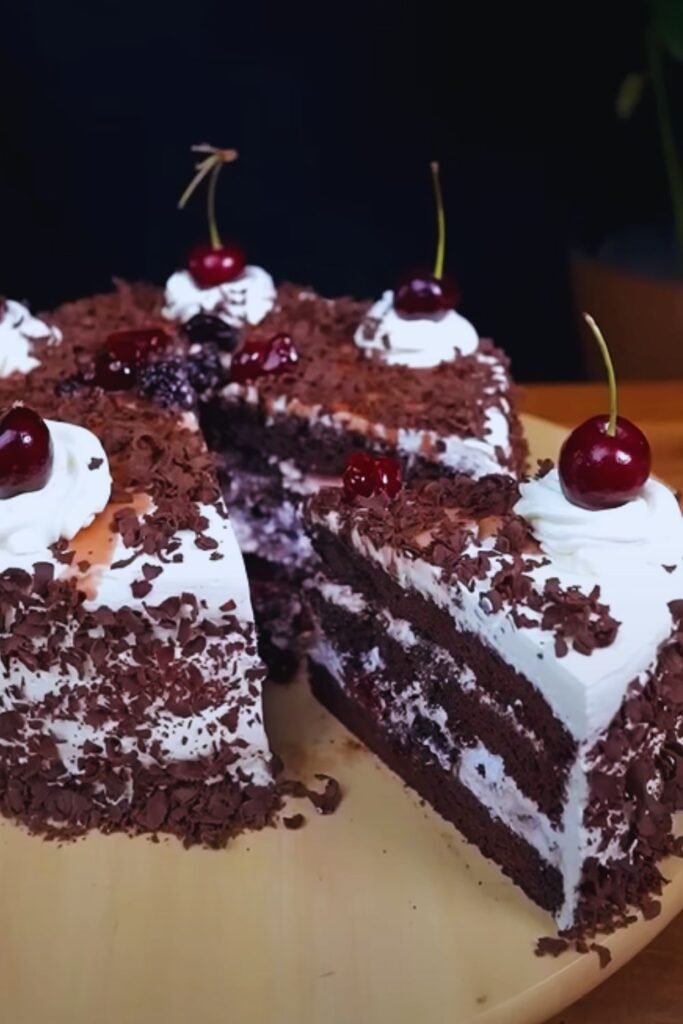
There’s something magical about slicing into a perfectly crafted Black Forest Gateau. As someone who has spent countless hours perfecting this classic German dessert, I can tell you that the interplay of rich chocolate layers, fresh cream, and juicy cherries creates an experience that’s nothing short of extraordinary. Today, I’m sharing my tried-and-tested recipe that will help you create this showstopping dessert in your own kitchen.
A Brief History
The Black Forest Gateau, or Schwarzwälder Kirschtorte as it’s known in German, originated in the Black Forest region of Germany. While many assume the name comes from the Black Forest itself, it actually refers to the specialty liquor of the region, made from sour cherries. The cake’s iconic appearance – with its dark chocolate layers resembling the region’s dense forests and the cream dots mimicking snowfall – has made it a beloved dessert worldwide.
Essential Ingredients
Before we dive into the recipe, let’s explore the key components that make this cake special:
| Ingredient Category | Components | Special Notes |
|---|---|---|
| Cake Base | Dark chocolate (70% cocoa), All-purpose flour, Cocoa powder, Eggs, Sugar, Vanilla extract | Use room temperature eggs for better volume |
| Cherry Filling | Fresh or preserved sour cherries, Cherry syrup, Cornstarch | Traditional recipes use Morello cherries |
| Cream Layer | Heavy whipping cream (36% fat), Powdered sugar, Vanilla extract | Must be very cold before whipping |
| Decoration | Dark chocolate shavings, Fresh cherries, Additional whipped cream | Chocolate should be at room temperature for shaving |
Equipment Needed
| Essential Tools | Optional but Helpful |
|---|---|
| 3 x 9-inch cake pans | Cake turntable |
| Stand mixer or hand mixer | Piping bags and tips |
| Sharp serrated knife | Cake leveler |
| Offset spatula | Digital kitchen scale |
| Microplane or grater | Acetate strips |
The Recipe
Chocolate Cake Layers
Prep Time: 30 minutes
Baking Time: 25-30 minutes
Servings: 12-14
Ingredients:
- 350g all-purpose flour
- 75g dark cocoa powder
- 2 teaspoons baking powder
- 1 teaspoon baking soda
- 1/2 teaspoon salt
- 6 large eggs, separated
- 350g granulated sugar
- 180ml vegetable oil
- 2 teaspoons vanilla extract
- 240ml buttermilk
- 120ml hot coffee
Method:
- Preheat your oven to 175°C (350°F). Grease and line three 9-inch cake pans with parchment paper.
- In a medium bowl, sift together the flour, cocoa powder, baking powder, baking soda, and salt.
- In your stand mixer bowl, beat the egg whites until soft peaks form. Gradually add 100g of the sugar and continue beating until stiff peaks form. Transfer to another bowl.
- In the same mixer bowl (no need to clean), beat the egg yolks and remaining sugar until pale and creamy.
- Add the oil and vanilla extract to the egg yolk mixture, beating until well combined.
Cherry Filling
Ingredients:
- 700g pitted sour cherries (fresh or jarred)
- 120ml cherry juice (from the jar if using preserved cherries)
- 100g granulated sugar
- 30g cornstarch
- 2 tablespoons lemon juice
Method:
- If using fresh cherries, cook them with sugar until they release their juices.
- Mix cornstarch with a little cherry juice to make a slurry.
- Add the slurry to the cherry mixture and cook until thickened.
- Let cool completely before using.
Assembly and Decoration
- Level each cake layer if needed.
- Place the first layer on your serving plate and brush with cherry syrup.
- Pipe a dam of whipped cream around the edge and fill with cherry filling.
- Repeat with the second layer.
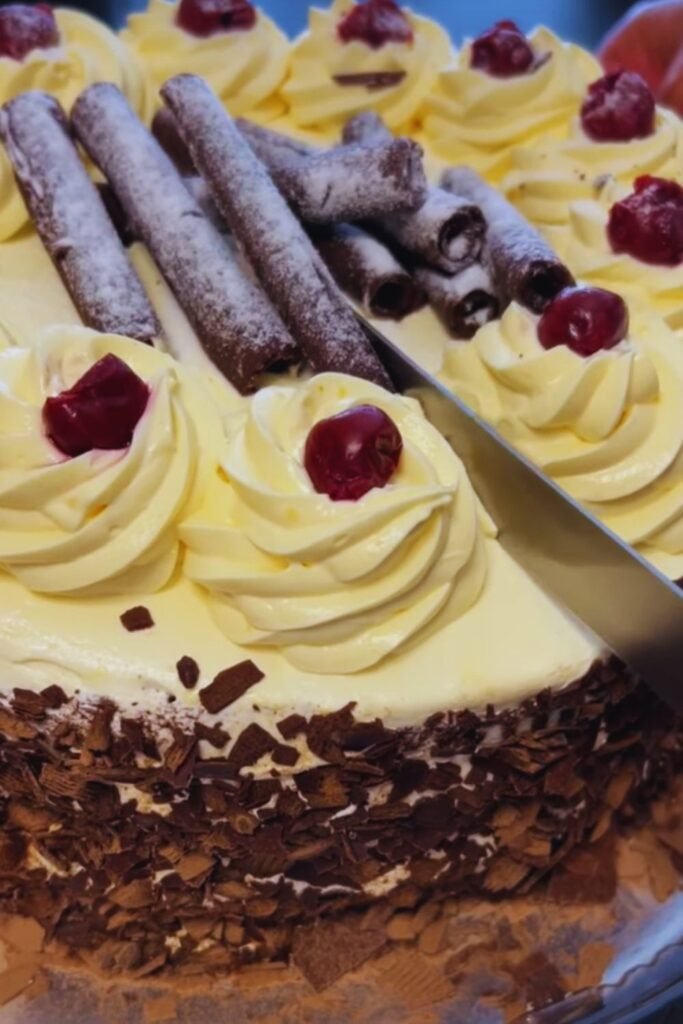
- Place the final layer and cover the entire cake with whipped cream.
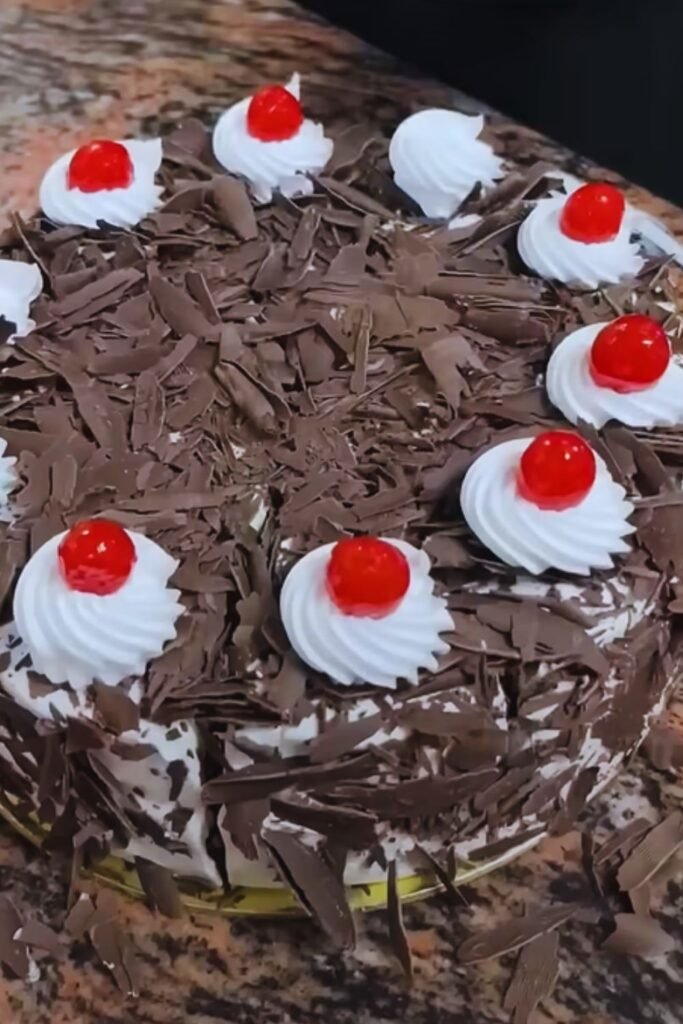
- Decorate the sides with chocolate shavings and pipe rosettes on top.
- Garnish with fresh cherries.
Professional Tips
| Aspect | Common Mistake | Professional Solution |
|---|---|---|
| Cake Texture | Dense, heavy layers | Use room temperature ingredients and don’t overmix |
| Cherry Filling | Too runny | Cook until properly thickened and cool completely |
| Whipped Cream | Unstable, weepy | Use stabilized whipped cream with cornstarch |
| Assembly | Sliding layers | Create a proper cream dam and chill between steps |
| Decoration | Messy appearance | Work with chilled cake and use proper tools |
Storage and Serving
The cake needs to be refrigerated and will keep well for up to 3 days. For the best taste and texture, I recommend removing it from the refrigerator 30 minutes before serving.
Serving Suggestions:
- Pair with a hot cup of coffee or tea
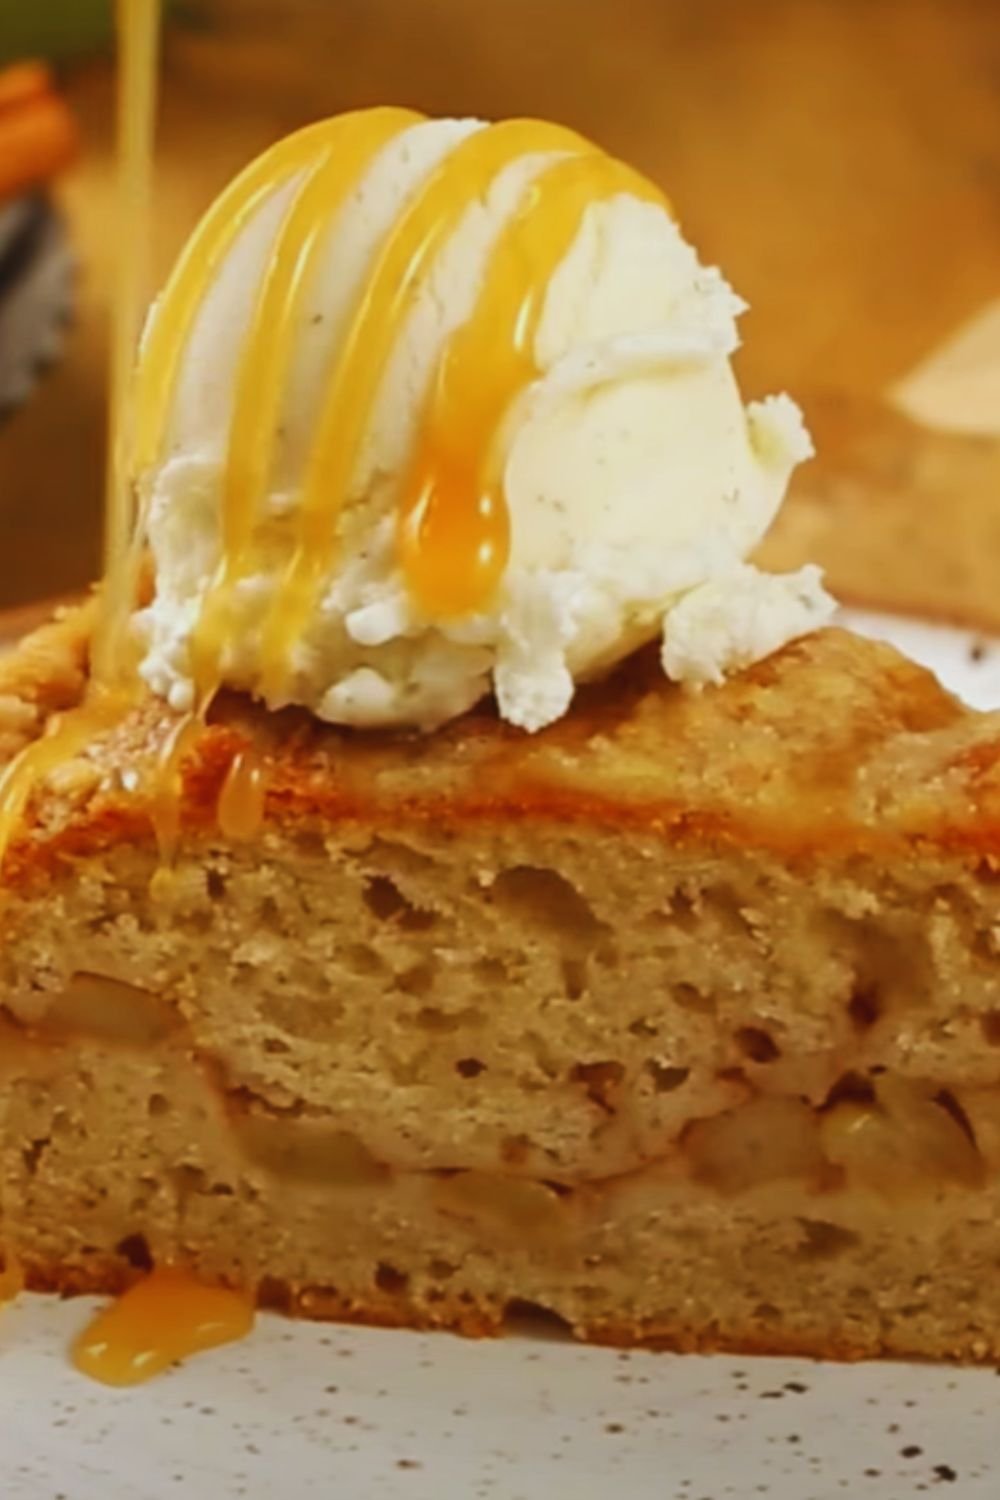
- Add a small scoop of vanilla ice cream
- Serve with a dollop of additional whipped cream
- Garnish with fresh cherry compote
Troubleshooting Guide
Q: Why did my cake layers sink in the middle?
A: This usually happens when the oven door is opened too early in the baking process or if the oven temperature isn’t accurate. Use an oven thermometer and avoid opening the door for the first 20 minutes of baking.
Q: My whipped cream became grainy and separated. What went wrong?
A: This typically occurs when the cream is overwhipped. Stop whipping as soon as stiff peaks form, and make sure your cream is very cold before starting.
Q: The cherries are bleeding into the cream. How can I prevent this?
A: Make sure your cherry filling is completely cool and thick enough. Creating a proper cream dam around the edges before adding the filling will also help contain it.
Q: My chocolate shavings aren’t curling nicely. What’s the trick?
A: The chocolate should be at room temperature, and you should use a vegetable peeler or sharp knife at a 45-degree angle. If the chocolate is too cold, it will break rather than curl.
Variations
While I’m a purist when it comes to Black Forest Gateau, here are some acceptable variations that maintain the integrity of this classic dessert:
| Variation | Description | Special Notes |
|---|---|---|
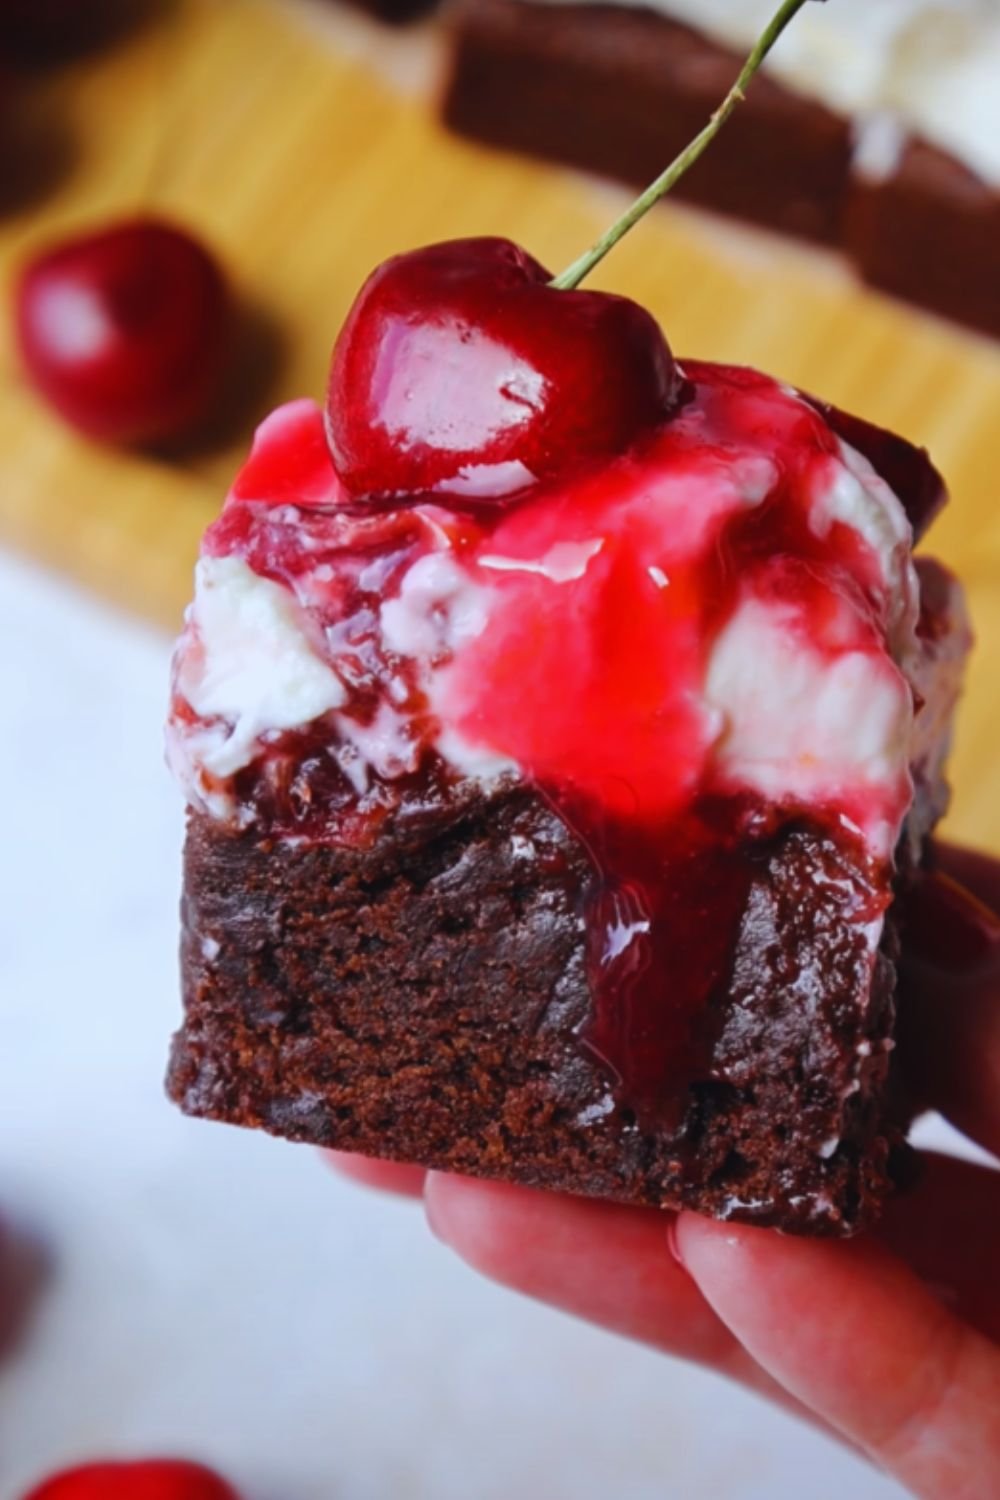
| Mini Gateaux | Individual-sized versions | Perfect for special occasions |
| Cupcake Style | Deconstructed elements | Great for casual gatherings |
| Sheet Cake Version | Family-style presentation | Easier to transport |
| Sugar-Free Option | Using sugar alternatives | Requires special adjustments |

Remember, creating the perfect Black Forest Gateau takes practice and patience. Don’t be discouraged if your first attempt isn’t picture-perfect – focus on the quality of your ingredients and the care in your technique, and the results will improve with each try. The joy of seeing someone’s face light up when they taste a slice of this magnificent cake makes all the effort worthwhile.