Have you ever found yourself torn between a croissant and a muffin at your local bakery? Well, I’m about to introduce you to the solution to this delicious dilemma: the cruffin. As a passionate home baker who has spent countless hours perfecting this trendy pastry, I can tell you that cruffins are worth every minute of effort they require. These delightful treats combine the flaky, buttery layers of a croissant with the shape and versatility of a muffin, creating something truly magical.
What Are Cruffins?
If you’ve never heard of cruffins before, you’re in for a treat. The name itself is a portmanteau of “croissant” and “muffin,” which perfectly describes what they are: croissant dough that’s been rolled, twisted, and baked in a muffin tin.
The cruffin was reportedly invented at Mr. Holmes Bakehouse in San Francisco around 2013, though similar pastries existed in other forms before that. What made the cruffin special was its perfect marriage of textures—crispy exterior, soft pillowy interior—and its ability to hold delicious fillings like pastry cream, jam, or Nutella.
I first encountered cruffins during a trip to San Francisco and knew immediately that I had to learn how to make them at home. After many trials (and some entertaining failures), I’m excited to share everything I’ve learned about creating these incredible pastries.
The Magic of Laminated Dough
At the heart of any good cruffin is laminated dough—the same dough used to make croissants. If you’re new to laminated pastry, it’s a technique where butter is folded between layers of dough, creating dozens of alternating layers of butter and dough. When baked, the butter creates steam, which separates the layers and creates that distinctive flaky texture.
The process is time-consuming but incredibly rewarding. While traditional bakeries might create hundreds of layers, for home baking, we can achieve excellent results with fewer folds.
Lamination Basics
When I first started making laminated dough, I found these key principles helpful:
- Temperature control is crucial—butter should be pliable but not soft
- Resting time between folds allows the gluten to relax
- Patience is your friend; rushing leads to butter breakthrough
- Precision in folding creates even layers
Essential Ingredients for Perfect Cruffins
Quality ingredients make all the difference when crafting cruffins. After experimenting with various brands and types, here’s what I’ve found works best:
| Ingredient | Recommended Type | Why It Matters | Amount for 12 Cruffins |
|---|---|---|---|
| Flour | Unbleached all-purpose or bread flour | Higher protein content creates better structure | 500g (4 cups) |
| Butter | European-style, high fat (82%+) | Creates flakier layers with better flavor | 250g (1 cup + 2 Tbsp) |
| Yeast | Instant dry yeast | More reliable for home bakers | 7g (2¼ tsp) |
| Sugar | Granulated | Feeds yeast and adds slight sweetness | 50g (¼ cup) |
| Salt | Fine sea salt | Enhances flavor without overwhelming | 10g (1½ tsp) |
| Milk | Whole milk | Fat content improves texture | 240ml (1 cup) |
| Egg | Large | Adds richness and color | 1 whole + 1 for egg wash |
| Vanilla | Pure extract | Depth of flavor | 5ml (1 tsp) |
| Fillings | Pastry cream, jam, chocolate | Flavor variations | 1 cup total |
The quality of butter deserves special mention. I’ve found that using a European-style butter with at least 82% fat content makes a significant difference. The higher fat percentage means less water, which improves the lamination process and creates a richer flavor.
Step-by-Step Cruffin Making Process
Making cruffins at home requires time and patience, but the results are well worth it. I’ve broken down the process into manageable steps that have worked consistently for me over dozens of batches.
Day 1: Making the Dough
- Prepare the dough base
- Mix flour, sugar, salt, and yeast in a large bowl
- Warm milk to lukewarm (not hot)
- Add egg and vanilla to milk and whisk
- Pour wet ingredients into dry and mix until a shaggy dough forms
- Knead for 5-7 minutes until smooth and elastic
- Place in a greased bowl, cover, and refrigerate for 1 hour
- Prepare the butter block
- Place cold butter between two pieces of parchment paper
- Using a rolling pin, pound butter into a 7×7-inch square
- Return to refrigerator for 15 minutes
- First lamination
- Roll chilled dough into a square about 11×11 inches
- Place butter block diagonally in the center
- Fold corners of dough over the butter to completely enclose it
- Seal edges well to prevent butter from escaping
- First fold
- Roll the dough into a rectangle approximately 8×16 inches
- Fold into thirds like a business letter
- Wrap in plastic and refrigerate for 1 hour
- Second and third folds
- Repeat the folding process twice more with 1-hour rests in between
- After the third fold, refrigerate overnight
Day 2: Shaping and Baking
- Final lamination and cutting
- Roll dough to ¼-inch thickness in a large rectangle
- Cut into 2-inch wide strips
- Shaping the cruffins
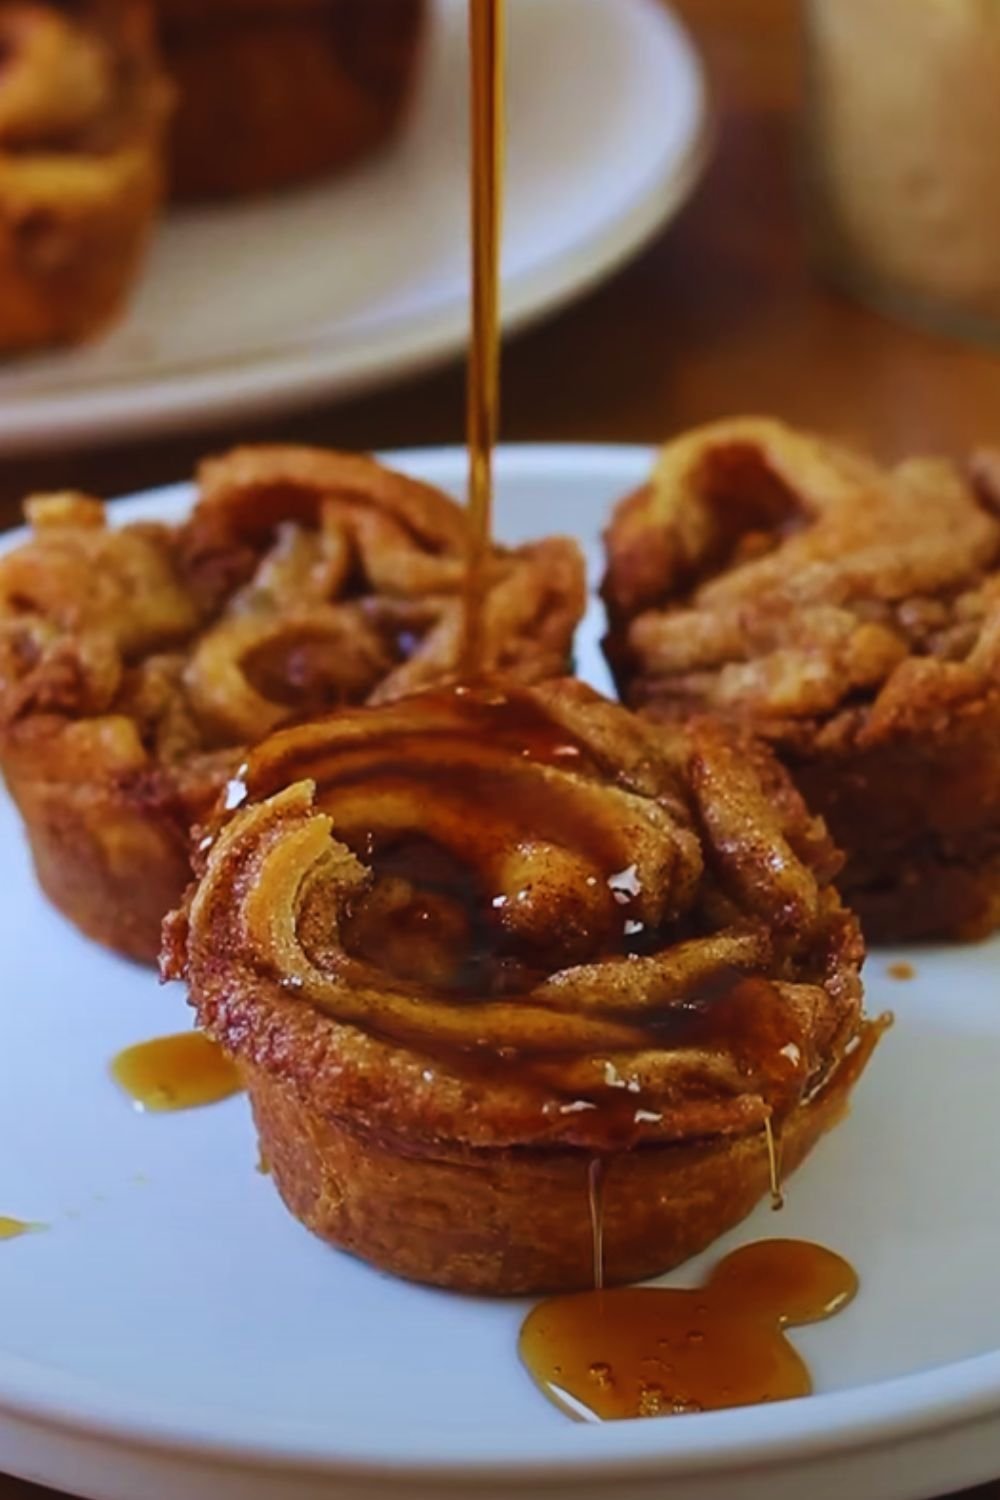
- Roll each strip from one end to create a spiral
- Tuck the end underneath and place in a greased muffin tin
- Cover loosely and let rise for 1-2 hours until puffy
- Baking
- Preheat oven to 375°F (190°C)
- Brush tops with egg wash
- Bake for 25-30 minutes until deep golden brown
- Remove from oven and let cool for 5 minutes in the tin
- Transfer to cooling rack

Troubleshooting Common Cruffin Problems
Even after years of baking them, I still occasionally encounter issues with my cruffins. Here are solutions to the most common problems I’ve faced:
| Problem | Possible Cause | Solution |
|---|---|---|
| Butter leaking during baking | Too warm dough or butter | Ensure proper chilling between folds; don’t rush the process |
| Dense, not flaky interior | Insufficient lamination | Be careful with rolling technique; aim for even pressure |
| Uneven rising | Inconsistent shaping | Take care to roll strips with even tension |
| Doughy centers | Underbaking | Check with instant thermometer; center should reach 200°F |
| Burnt exterior, raw interior | Oven too hot | Use oven thermometer; consider lowering temp and extending time |
| Butter breaking through dough | Dough too thin or butter too cold | Roll dough thicker; let butter warm slightly before laminating |
| Filling leaks out | Too much filling or weak seals | Use less filling; ensure proper sealing techniques |
| Cruffins collapse after baking | Underbaking or opening oven too soon | Bake fully; avoid opening oven during first 20 minutes |
One issue I struggled with initially was butter breakthrough. I found that keeping my work surface, rolling pin, and hands lightly floured prevented the dough from sticking and tearing. Also, if your kitchen is warm, consider setting up a cooling station with a marble pastry board.
Delicious Filling Ideas
While plain cruffins are delicious on their own, fillings take them to another level. I typically fill my cruffins after baking using a piping bag with a long, narrow tip.
Classic Fillings
- Vanilla Bean Pastry Cream: Rich, smooth, and infused with real vanilla beans
- Citrus Curd: Lemon, lime, or orange curd adds a bright, tangy contrast
- Chocolate Ganache: Use high-quality chocolate for a luxurious filling
- Fruit Preserves: Raspberry, blackberry, or apricot jam work beautifully
Creative Filling Combinations
| Base Filling | Flavor Addition | Finishing Touch |
|---|---|---|
| Vanilla pastry cream | Fresh berries | Lemon zest |
| Chocolate ganache | Orange zest | Sea salt flakes |
| Dulce de leche | Cinnamon | Chopped toasted pecans |
| Raspberry jam | White chocolate chips | Fresh mint |
| Coffee pastry cream | Chocolate shavings | Cocoa powder dusting |
| Matcha cream | Red bean paste | Black sesame seeds |
| Nutella | Chopped hazelnuts | Powdered sugar |
| Maple custard | Bacon bits (yes, really!) | Cinnamon sugar |

Serving Suggestions
I’ve found that cruffins are at their absolute best when served fresh from the oven, but that’s not always possible. Here are my preferred serving methods:
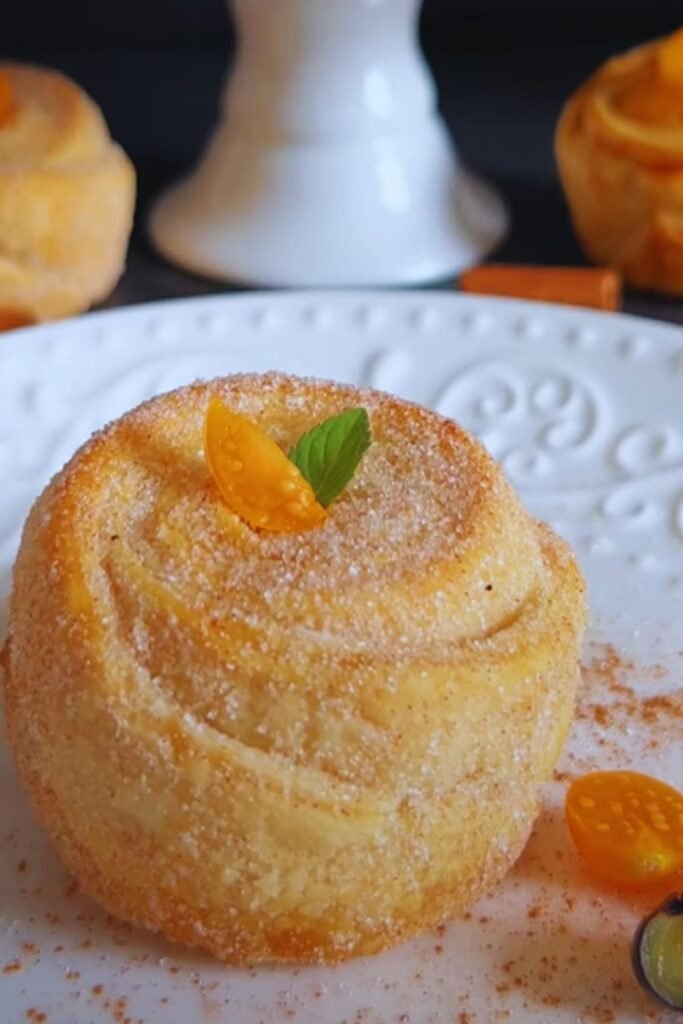
- Fresh: Serve within hours of baking, lightly dusted with powdered sugar
- Same Day: Store at room temperature and warm for 5 minutes at 300°F before serving
- Next Day: Store in airtight container and reheat for 7-8 minutes at 300°F
- For Brunches: Create a cruffin bar with various fillings and toppings
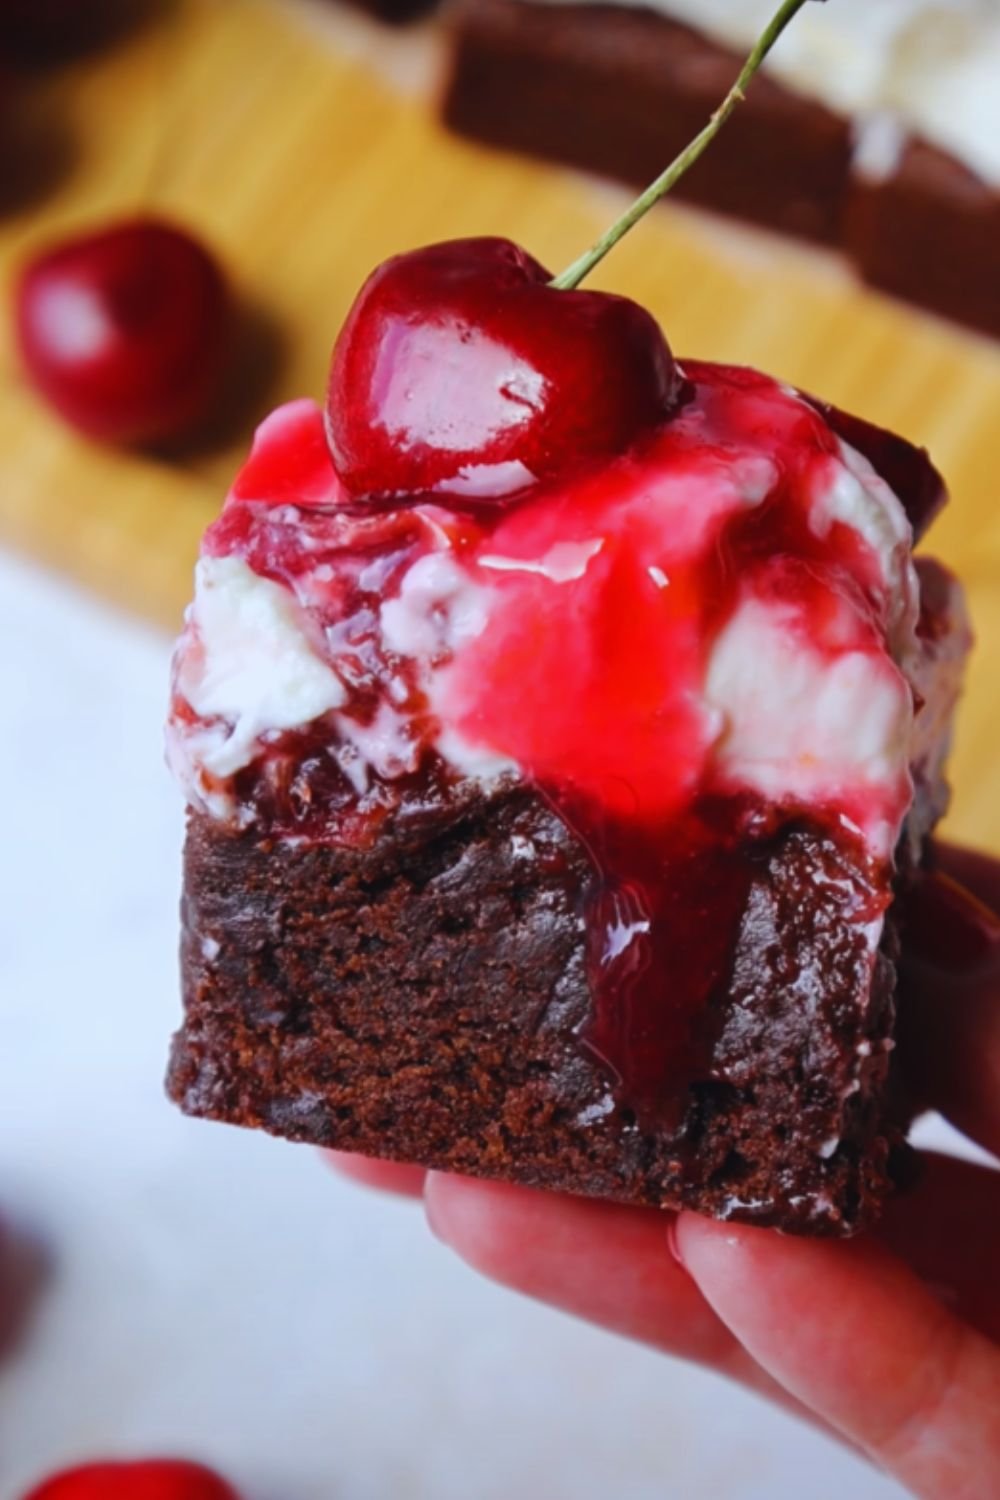
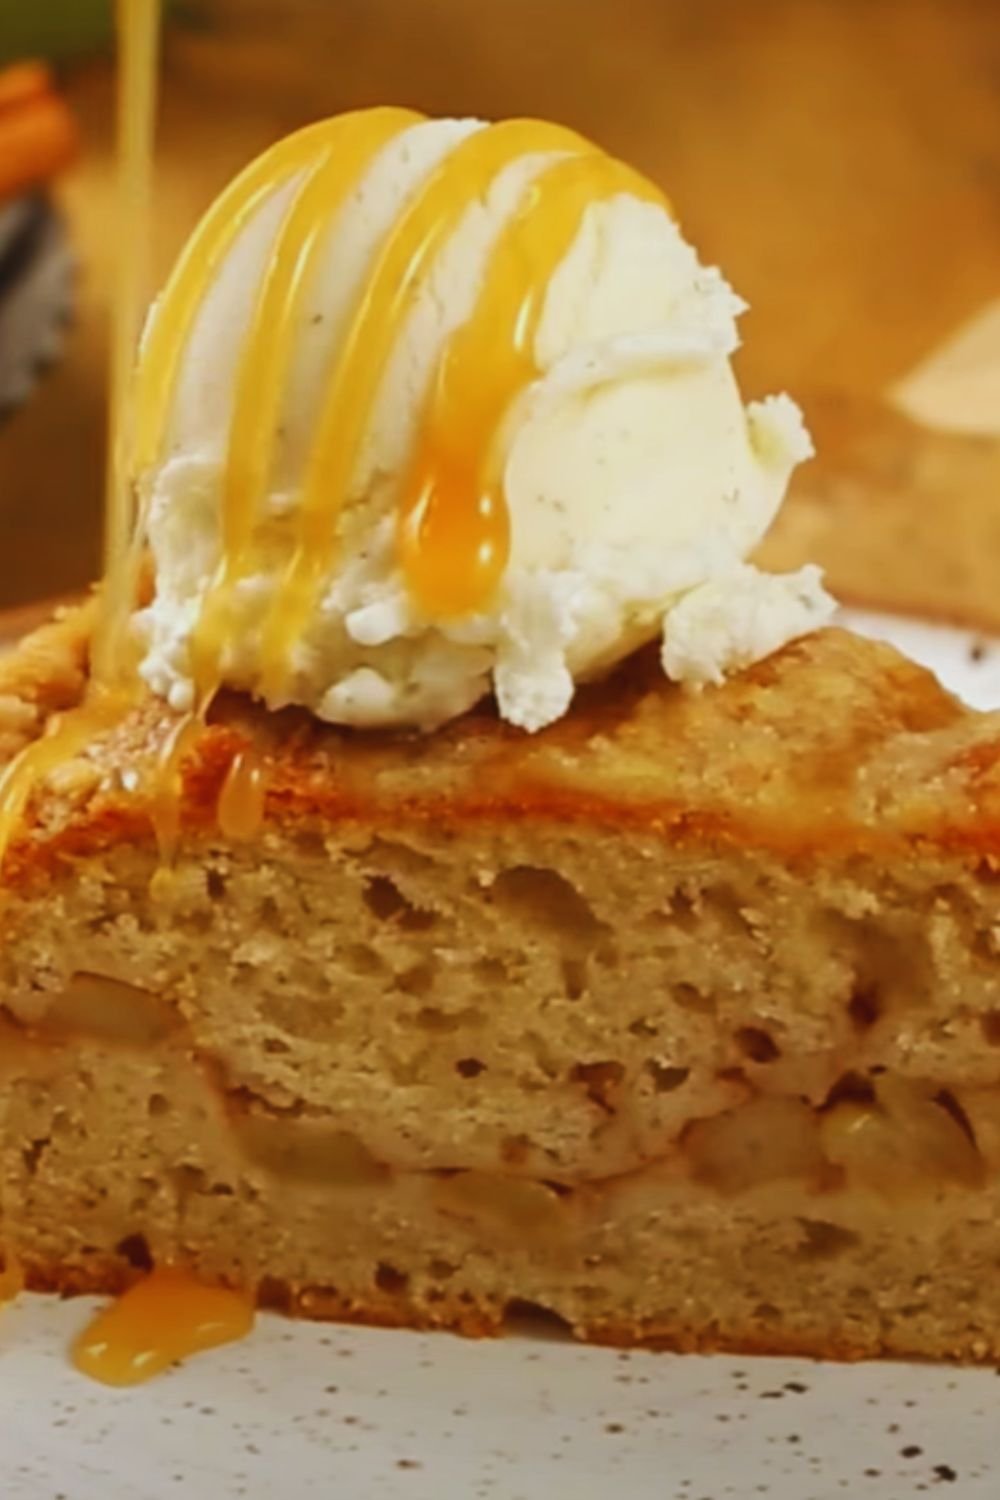
- Dessert Course: Serve warm with a scoop of ice cream and fresh berries
- Afternoon Tea: Pair with Earl Grey or a fruity herbal tea
- Coffee Pairing: The buttery layers complement a cappuccino perfectly
- Breakfast Spread: Include as part of a special breakfast with fresh fruit
Creative Serving Ideas for Special Occasions
For special occasions, I love to create cruffin towers—similar to croquembouche but with cruffins instead. Simply stack them in a cone shape and drizzle with caramel or chocolate for a showstopping dessert centerpiece.
Another favorite is a cruffin bread pudding made with day-old cruffins. Tear them into pieces, soak in a custard mixture, and bake until golden and puffy. It’s a delicious way to use any leftovers, though honestly, leftovers are rare in my house!
Make-Ahead and Storage Tips
The time-intensive nature of cruffins means I often want to prepare components ahead of time. Here’s what works:
| Component | Storage Method | Maximum Time | Notes |
|---|---|---|---|
| Laminated dough | Refrigerated, wrapped tightly | 3 days | Let sit at room temp for 10 mins before rolling |
| Laminated dough | Frozen, double-wrapped | 1 month | Thaw overnight in refrigerator |
| Shaped, unbaked cruffins | Refrigerated, covered | Overnight | Allow extra rising time when ready to bake |
| Baked cruffins | Room temperature, airtight container | 2 days | Best eaten same day; reheat before serving |
| Baked cruffins | Frozen, well-wrapped | 1 month | Thaw and reheat in 300°F oven until warm |
| Fillings | Refrigerated in piping bags | 3 days | Bring to room temp before piping |
One of my favorite time-saving tips is to prepare and freeze the laminated dough after the final fold. This way, I can thaw it overnight in the refrigerator when I want fresh cruffins and continue with the shaping and baking steps the next day.
Special Diet Adaptations
While traditional cruffins use butter, eggs, and milk, I’ve experimented with various alternatives to accommodate different dietary needs:
Vegan Cruffins
- Replace butter with vegan butter blocks (not spread)
- Use plant milk with a tablespoon of apple cider vinegar
- Substitute eggs with aquafaba or commercial egg replacer
- Note: Vegan versions won’t be quite as flaky but still delicious
Gluten-Free Attempts
- Use a high-quality cup-for-cup gluten-free flour blend
- Add 1 tablespoon xanthan gum if your blend doesn’t include it
- Expect a slightly different texture—more tender, less flaky
- Be extra gentle when handling the dough
While these adaptations won’t produce exactly the same results as traditional cruffins, they can be surprisingly successful. The vegan version, in particular, has become popular among my plant-based friends.
Seasonal Cruffin Variations
One of the joys of making cruffins at home is adapting them to seasonal flavors. Here are some of my favorite seasonal variations:
Spring
- Lemon curd with fresh blueberries
- Strawberry rose pastry cream
- Rhubarb compote with vanilla bean
Summer
- Peach and honey filling
- Blackberry lavender jam
- Key lime curd with toasted coconut
Fall
- Pumpkin spice pastry cream
- Apple butter with cinnamon sugar coating
- Maple cream with toasted walnuts
Winter
- Peppermint chocolate ganache
- Eggnog custard with nutmeg
- Orange cranberry filling with sugared cranberries
I find that adapting fillings to use what’s in season not only provides the best flavor but also keeps my cruffin game exciting throughout the year.
Questions & Answers
Q: Can I make cruffins without a stand mixer? Yes, absolutely! While a stand mixer makes the initial dough mixing easier, you can certainly mix and knead the dough by hand. Just be prepared for a bit of an arm workout. The lamination process is done by hand regardless, so the mixer only saves time on the initial dough preparation.
Q: How do I know if my butter is the right temperature for lamination? The butter should be cold but pliable—similar to the texture of modeling clay. If you press it with your finger, it should give slightly but not be soft or oily. Too cold and it will crack and break through the dough; too warm and it will be absorbed into the dough rather than creating separate layers.
Q: Can I use pre-made puff pastry or croissant dough instead? Yes, you can use store-bought puff pastry or croissant dough as a shortcut. While the results won’t be identical to homemade laminated dough, you’ll still get a tasty pastry. If using this shortcut, simply roll out the dough, cut into strips, and proceed with the shaping instructions.
Q: Why did my cruffins collapse after baking? Collapse typically happens for one of two reasons: either the cruffins were underbaked, or the oven temperature fluctuated too much during baking. Make sure your oven is properly preheated and use an oven thermometer for accuracy. Also, avoid opening the oven door during the first 20 minutes of baking.
Q: How do I prevent the bottoms from getting too dark? If you find the bottoms browning too quickly, try using light-colored muffin tins rather than dark ones. You can also place the muffin tin on top of another baking sheet to provide insulation, or move the cruffins to a higher rack in the oven for the last 5-10 minutes of baking.
Q: Can I prepare the dough and shape the cruffins the night before? Yes! You can shape the cruffins and place them in the muffin tin, then cover loosely with plastic wrap and refrigerate overnight. In the morning, let them sit at room temperature for about an hour to finish rising before baking. This is one of my favorite tricks for fresh-baked cruffins at breakfast without an early wake-up call.
Q: How do I get the filling into the center of the cruffin? For best results, wait until the cruffins are fully cooled. Then use a piping bag fitted with a long, narrow piping tip (sometimes called a bismarck tip). Insert the tip into the top center of the cruffin and gently squeeze the filling inside while slowly pulling the tip upward. You’ll feel the cruffin getting heavier as it fills.
Q: My kitchen is very warm. Any tips for keeping the butter from melting during lamination? Working in a warm kitchen can be challenging for laminated dough! I recommend working in short sessions of 5-10 minutes, returning the dough to the refrigerator whenever it starts to feel soft. You can also chill your work surface by placing ice packs on it before rolling out the dough, or work on a marble pastry board which naturally stays cooler.
Final Thoughts
Creating perfect cruffins at home has been one of my most rewarding baking adventures. Yes, they require time and patience, but the process itself becomes meditative once you’re familiar with it. There’s something incredibly satisfying about pulling a tray of golden-brown, flaky cruffins from the oven and knowing you created those dozens of buttery layers with your own hands.
If you’re new to laminated dough, I encourage you to embrace the learning process. My first batch was far from perfect, but even “imperfect” cruffins are delicious. With each batch, your technique will improve, and soon you’ll be creating bakery-worthy pastries right in your home kitchen.
Whether you fill them with rich pastry cream, tangy fruit curd, or decadent chocolate ganache, cruffins are sure to impress anyone lucky enough to try them. So roll up your sleeves, prepare your butter, and get ready to create a pastry that truly represents the best of both worlds—the elegant flakiness of a croissant with the homey comfort of a muffin.