As someone who’s been cooking seafood for over a decade, I can confidently say that Parmesan Crusted Tilapia is one of those dishes that never fails to impress. Today, I’m excited to share my foolproof recipe that transforms simple tilapia fillets into a crispy, flavorful masterpiece that rivals any restaurant version.
Why You’ll Love This Recipe
I remember the first time I served this dish to my family – their eyes lit up at the sight of the golden-brown crust, and the kitchen was filled with the mouthwatering aroma of herbs and cheese. What makes this recipe special is its perfect balance of textures: the crispy, cheesy exterior gives way to tender, flaky fish that practically melts in your mouth.

Essential Ingredients
For 4 servings, you’ll need:
- 4 tilapia fillets (6-7 ounces each)
- 1 cup freshly grated Parmesan cheese
- ¾ cup Panko breadcrumbs
- 2 tablespoons fresh parsley, finely chopped
- 1 teaspoon garlic powder
- 1 teaspoon dried Italian herbs
- ½ teaspoon paprika
- ¼ teaspoon black pepper
- 2 large eggs
- 3 tablespoons olive oil
- 1 lemon for serving
- Salt to taste
Kitchen Equipment Needed
I’ve found these tools essential for perfect execution:
- Large non-stick skillet
- Shallow dishes for breading station
- Paper towels
- Fish spatula or wide turner
- Instant-read thermometer (optional but helpful)
- Microplane grater for cheese
Step-by-Step Instructions
1. Preparation (10 minutes)
First, let’s set up our breading station. I always start here because good organization makes the whole process smoother.
- Pat the tilapia fillets dry with paper towels
- Season both sides with salt and pepper
- In a shallow dish, beat the eggs with 1 tablespoon of water
- In another shallow dish, combine:
- Grated Parmesan
- Panko breadcrumbs
- Chopped parsley
- Garlic powder
- Italian herbs
- Paprika

2. Breading Process (10 minutes)
I’ve learned that the key to a perfect crust is maintaining one “wet hand” and one “dry hand” throughout this process:
- Dip each fillet in the beaten egg mixture, allowing excess to drip off
- Press into the Parmesan mixture, ensuring even coating on both sides
- Place breaded fillets on a clean plate
- Let them rest for 5 minutes to help the coating adhere better
3. Cooking Process (12-15 minutes)
Here’s where the magic happens:
- Heat olive oil in a large non-stick skillet over medium heat
- Once the oil is shimmering (but not smoking), add the fillets
- Cook for 4-5 minutes until golden brown
- Carefully flip and cook another 3-4 minutes
- Internal temperature should reach 145°F (63°C)
Pro Tips From My Kitchen
After making this dish countless times, I’ve discovered these game-changing tips:
- Temperature matters: Let the fillets sit at room temperature for 15 minutes before cooking
- Freshness test: Fresh tilapia should be firm, smell clean, and have clear eyes if whole
- Don’t skip the resting period after breading
- Press the coating firmly onto the fish to ensure it sticks
- Never overcrowd the pan – cook in batches if needed
Nutritional Information
Per serving:
- Calories: 320
- Protein: 34g
- Fat: 18g
- Carbohydrates: 8g
- Fiber: 1g
- Sodium: 580mg
Storage and Reheating
While this dish is best served fresh, I’ve found these storage methods work well:
- Refrigerator: Store in an airtight container for up to 2 days
- Reheating: Place in a 350°F oven for 8-10 minutes
- Avoid microwaving as it makes the crust soggy
Serving Suggestions
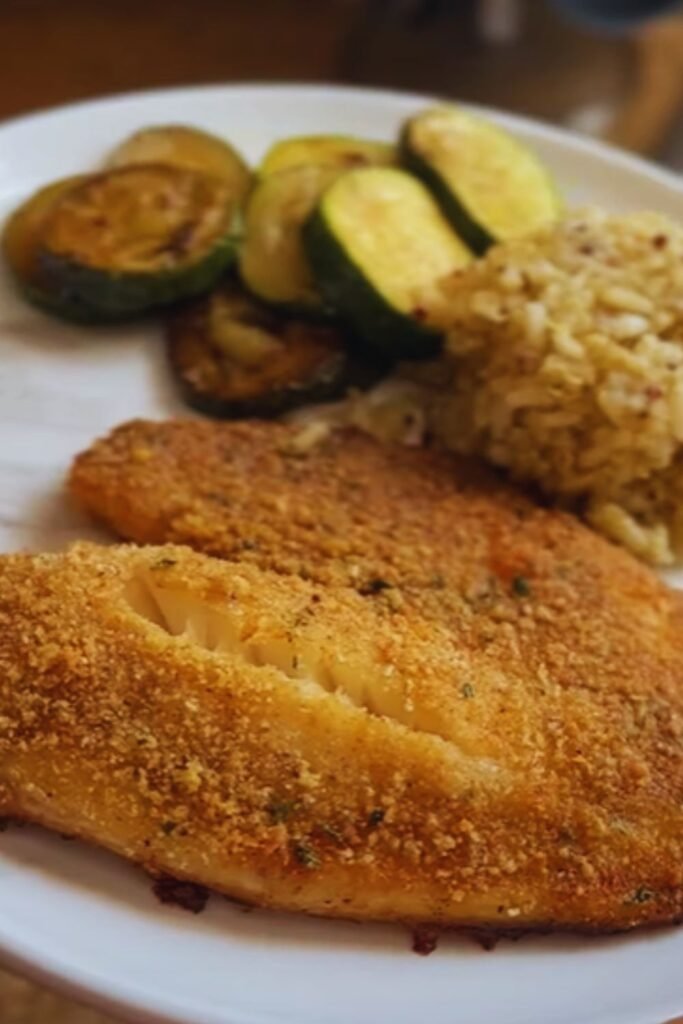
I love serving this dish with:
- Roasted asparagus or green beans
- Garlic mashed potatoes
- Lemon wedges
- Fresh herb garnish
- Light garden salad
- Steamed rice with herbs
Common Questions & Answers
Q: Can I use frozen tilapia fillets?
A: Yes, but ensure they’re completely thawed and patted dry before breading. I recommend thawing overnight in the refrigerator for best results.
Q: Why isn’t my crust sticking to the fish?
A: Make sure to: 1) Pat the fish very dry before starting, 2) Let it rest after breading, and 3) Don’t move the fish around while cooking.
Q: Can I bake this instead of pan-frying?
A: Absolutely! Preheat your oven to 400°F and bake for 12-15 minutes. While the crust won’t be quite as crispy, it’s still delicious.
Q: What’s the best substitute for Panko breadcrumbs?
A: Regular breadcrumbs work, but reduce the amount by ¼ cup as they’re denser. For a low-carb option, crushed pork rinds are excellent.
Q: How do I know when the fish is done?
A: The fish should be opaque and flake easily with a fork. For precise doneness, use a thermometer to check for 145°F internal temperature.
Troubleshooting Common Issues
Sometimes things don’t go as planned, so here are solutions to common problems:
- Crust falling off:
- Ensure fish is completely dry
- Press coating firmly
- Don’t flip too early
- Make sure oil is hot enough
- Burning coating:
- Lower heat to medium
- Add a bit more oil
- Don’t let pan get too hot between batches
- Soggy results:
- Don’t overcrowd the pan
- Maintain proper oil temperature
- Serve immediately
- Use fresh breadcrumbs
Recipe Variations
I love experimenting with this base recipe. Here are some successful variations I’ve tried:
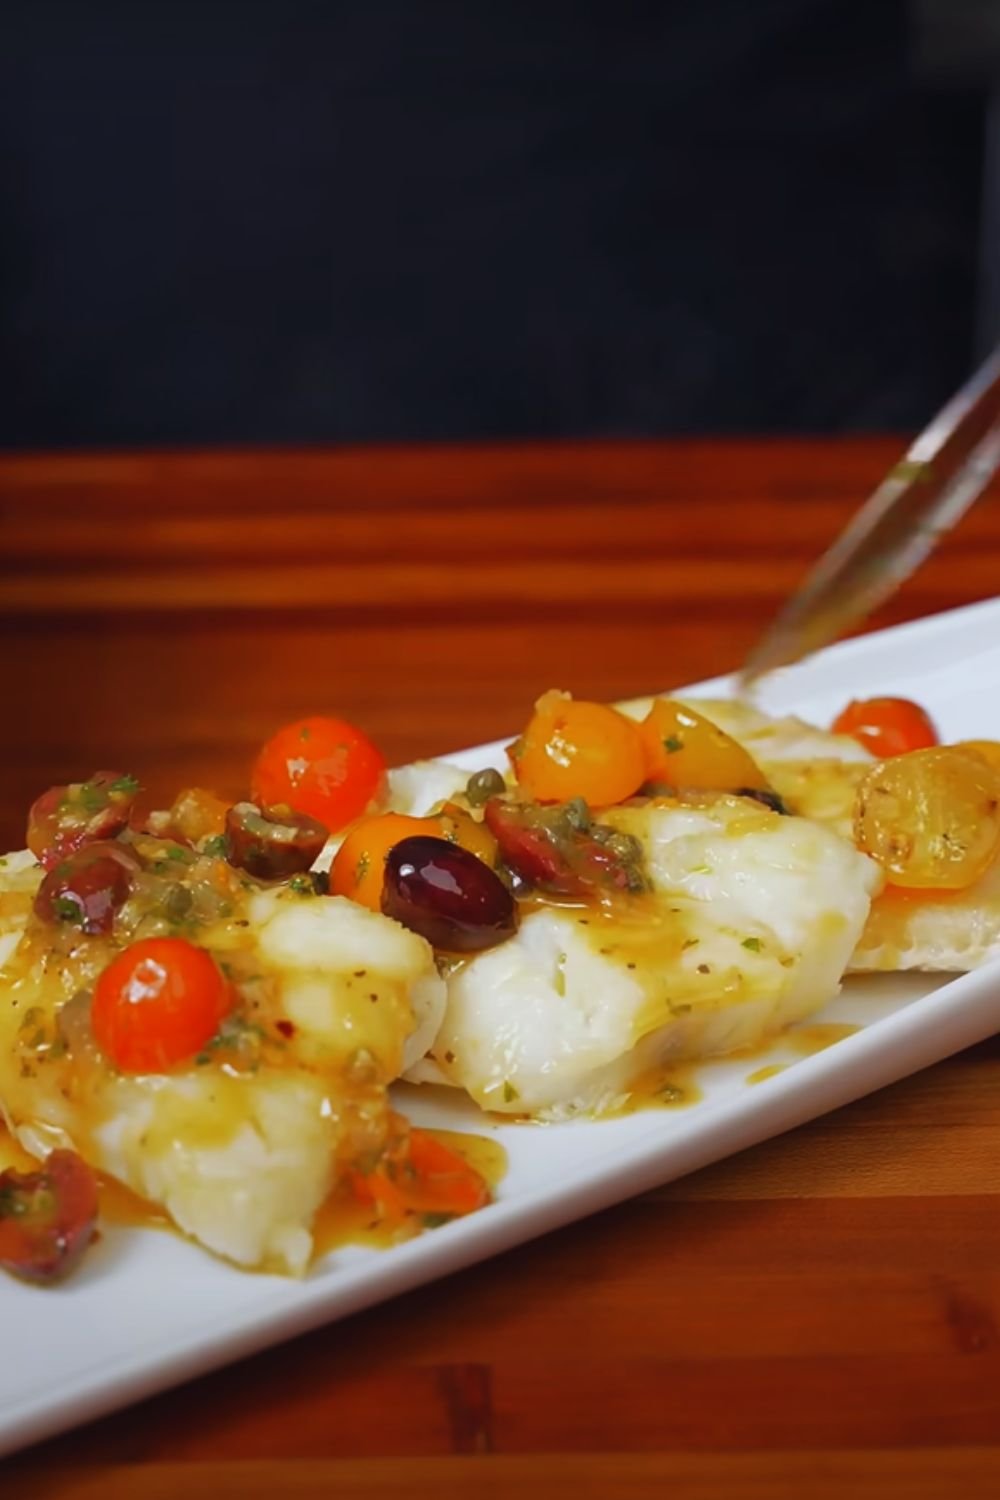
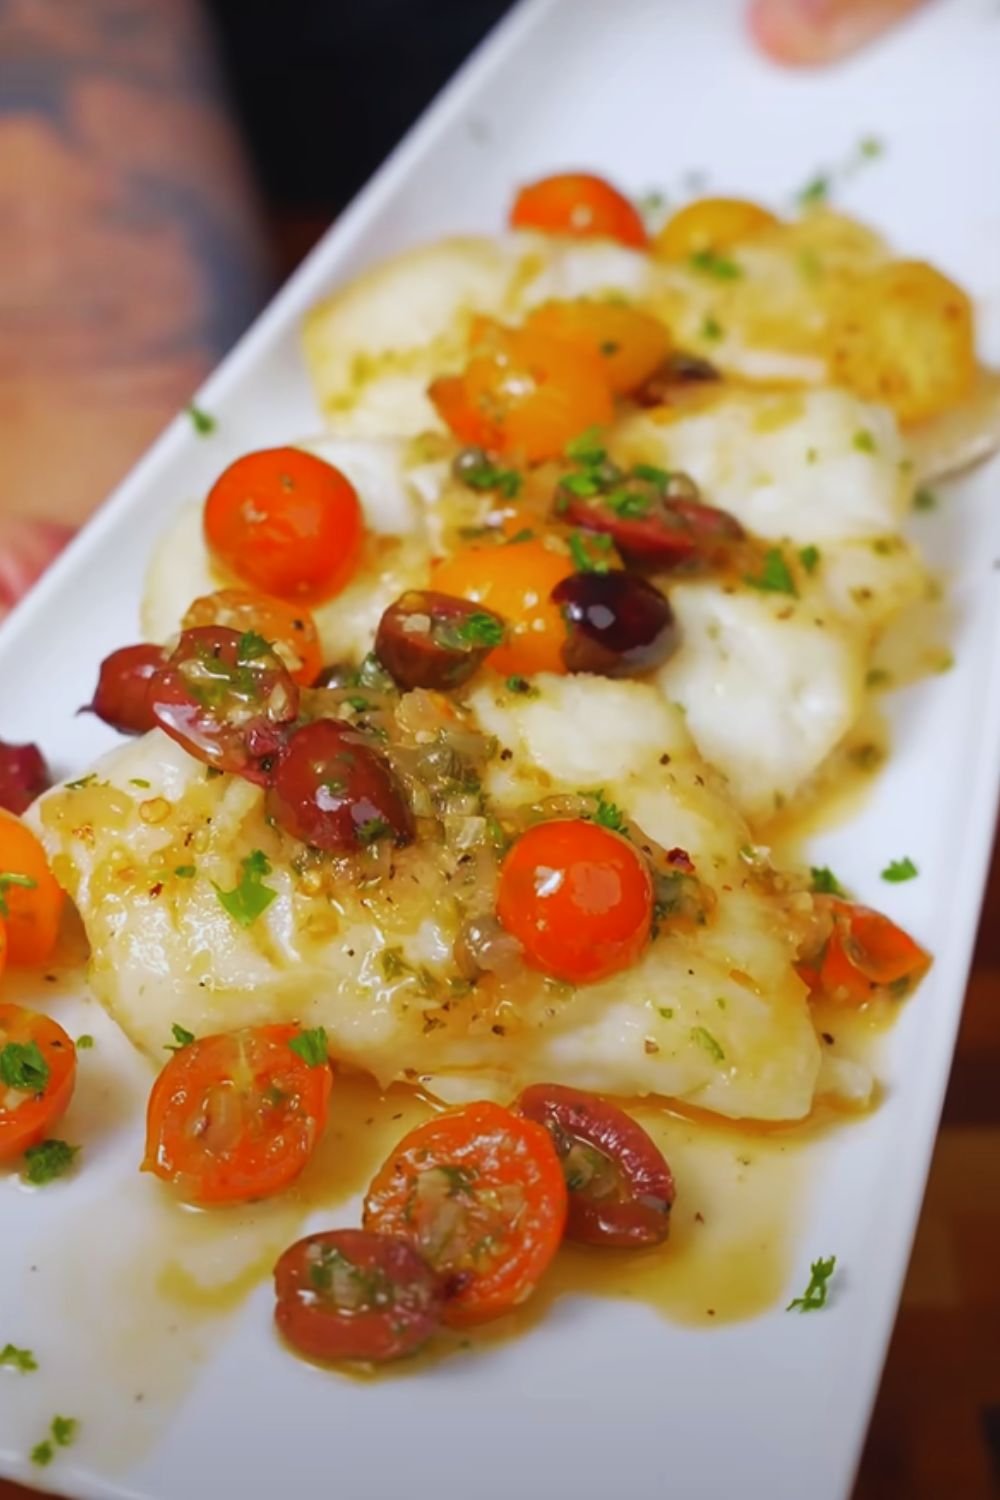
- Mediterranean Style:
- Add chopped sun-dried tomatoes to the coating
- Mix in crumbled feta with the Parmesan
- Serve with tzatziki sauce
- Spicy Version:
- Add cayenne pepper to the coating
- Include crushed red pepper flakes
- Serve with spicy remoulade
- Herb-Forward:
- Double the fresh herbs
- Add fresh dill and chives
- Include lemon zest in the coating
Health Benefits
As a health-conscious cook, I appreciate that this recipe is:
- High in protein
- Rich in omega-3 fatty acids
- Good source of vitamin B12
- Excellent source of calcium (thanks to the Parmesan)
- Moderate in calories
- Low in carbohydrates
Shopping Tips
To ensure the best results:
- Fish Selection:
- Look for fillets of even thickness
- Choose pieces that are firm and springy
- Avoid any with strong fishy odors
- Fresh is best, but quality frozen works too
- Cheese Choice:
- Use real Parmigiano-Reggiano if possible
- Grate it yourself for best flavor and texture
- Look for aged Parmesan for stronger flavor
Remember, quality ingredients make a significant difference in the final dish. I always say that a recipe is only as good as its ingredients, and this is especially true for simple dishes like this one.