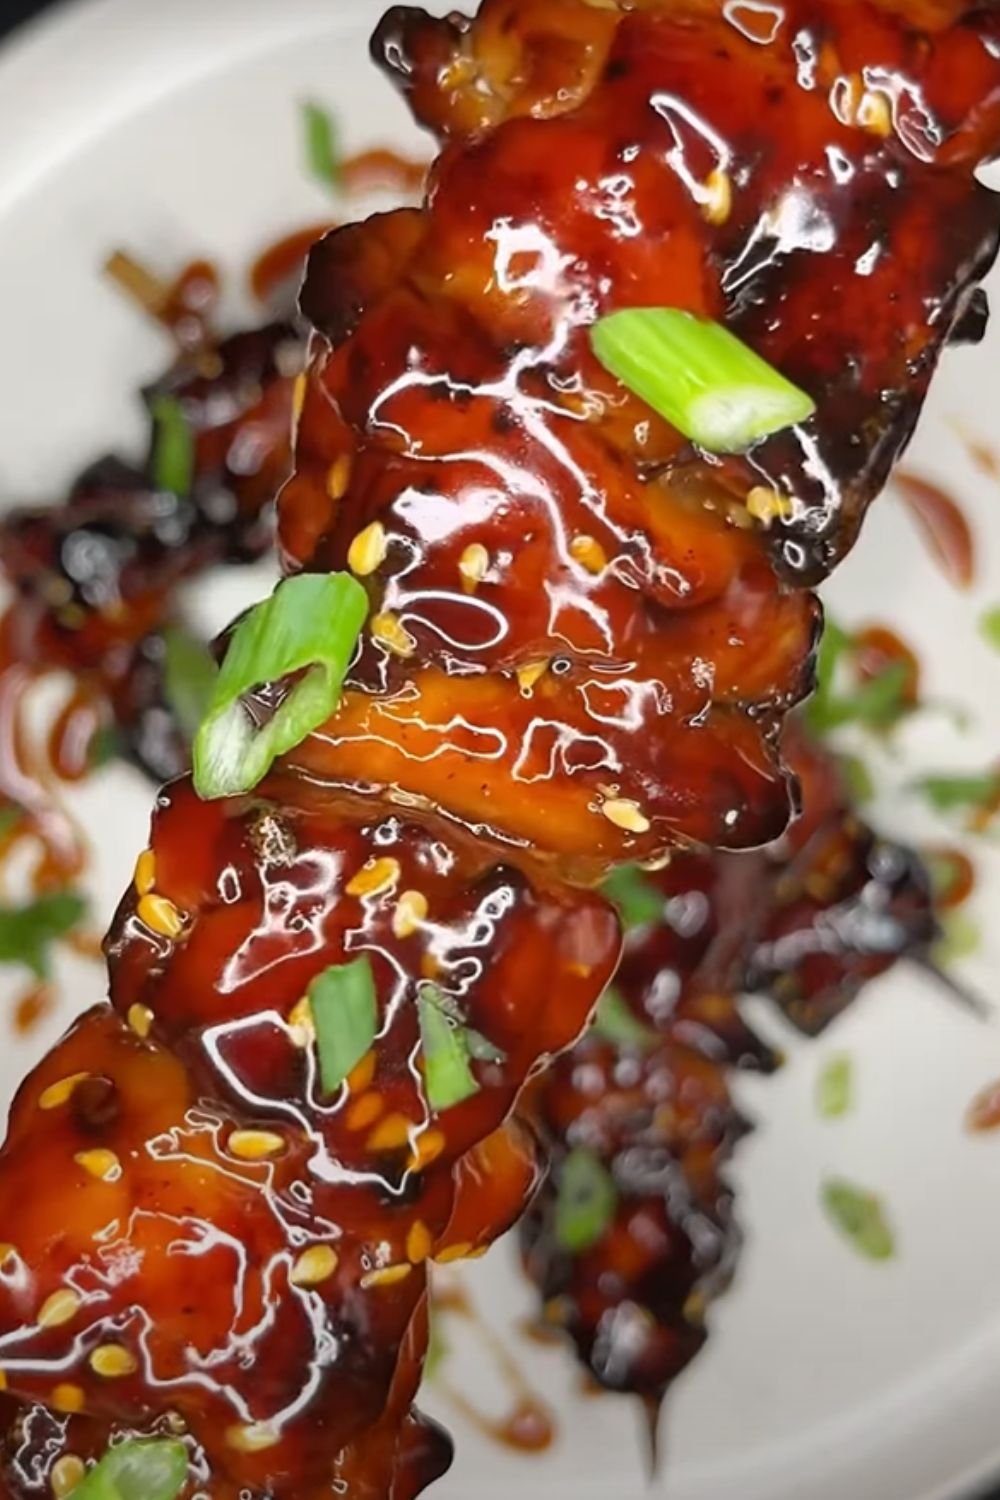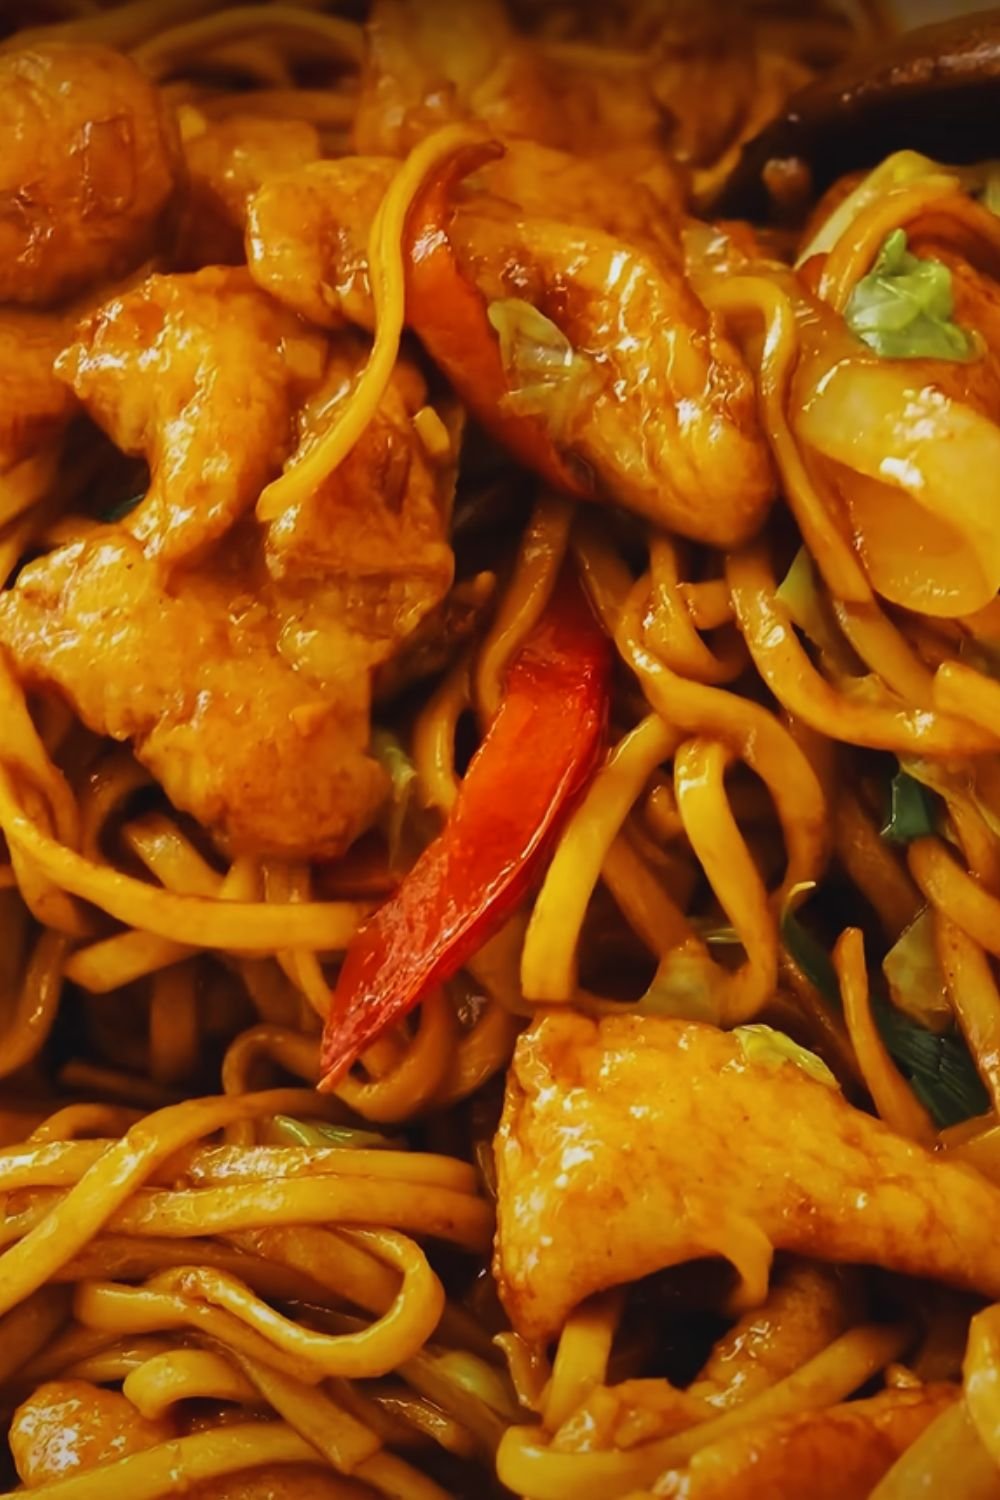
There’s something magical about the sizzle of a wok and the aromatic dance of garlic, ginger, and sweet teriyaki sauce that never fails to bring my family running to the kitchen. I’ve spent years perfecting my teriyaki chicken stir fry recipe, and today, I’m thrilled to share all my secrets with you. This isn’t just another stir fry recipe – it’s a foolproof method that transforms simple ingredients into a restaurant-quality dish that’ll have everyone asking for seconds.
The Magic Behind Perfect Teriyaki Chicken
Before we dive into the recipe, let me share why this dish holds a special place in my heart. Growing up in a busy household, I learned that the best meals combine three essential elements: they’re quick to prepare, nutritiously balanced, and absolutely delicious. This teriyaki chicken stir fry checks all these boxes and more. I’ve made this dish countless times, tweaking and perfecting it until every bite delivers that perfect balance of sweet, savory, and umami flavors.
Essential Ingredients
| Ingredient | Amount | Notes |
|---|---|---|
| Chicken thighs | 1.5 pounds | Boneless, skinless |
| Broccoli florets | 3 cups | Fresh or frozen |
| Carrots | 2 medium | Julienned |
| Bell peppers | 2 large | Mixed colors, sliced |
| Snow peas | 1 cup | Trimmed |
| Garlic | 4 cloves | Minced |
| Ginger | 2 tablespoons | Fresh, grated |
| Vegetable oil | 3 tablespoons | High smoke point |
| Green onions | 4 stalks | Sliced diagonally |
| Sesame seeds | 2 tablespoons | For garnish |
Homemade Teriyaki Sauce
| Ingredient | Amount | Purpose |
|---|---|---|
| Soy sauce | 1/2 cup | Base flavor |
| Mirin | 1/4 cup | Sweetness & glaze |
| Sake | 1/4 cup | Depth & tenderizing |
| Brown sugar | 3 tablespoons | Caramelization |
| Cornstarch | 2 tablespoons | Thickening |
| Water | 1/4 cup | For consistency |
The Secret to Perfect Chicken Texture
Here’s something many recipes won’t tell you: the key to incredibly tender chicken lies in a technique called “velveting.” I discovered this game-changing method after countless attempts at achieving that restaurant-quality texture. Here’s my foolproof process:
- Cut chicken thighs into uniform 1-inch pieces
- Mix 1 tablespoon cornstarch with 1 tablespoon soy sauce and 1 egg white
- Coat chicken pieces thoroughly
- Let marinate for 30 minutes (no longer than 2 hours)
- Pat dry before cooking
Equipment Essentials
| Item | Preferred Type | Why It Matters |
|---|---|---|
| Wok or large skillet | Carbon steel | Better heat distribution |
| Sharp knife | Chef’s knife | Clean cuts for even cooking |
| Cutting board | Wood or plastic | Separate for meat and vegetables |
| Metal spatula | Stainless steel | Better for stir-frying |
| Mixing bowls | Various sizes | Prep organization |
| Measuring cups/spoons | Standard set | Accurate proportions |
Step-by-Step Cooking Process
Preparation Phase (15 minutes)
- Prepare the sauce:
- Combine all sauce ingredients except cornstarch and water
- Mix cornstarch with water separately
- Set both mixtures aside
- Prep vegetables:
- Cut broccoli into even-sized florets
- Julienne carrots
- Slice bell peppers into thin strips
- Trim snow peas
- Mince garlic and grate ginger
- Organize workspace:
- Arrange prepped ingredients in order of use
- Have serving dishes ready
- Keep sauce within reach
Cooking Phase (15-20 minutes)
- Heat your wok:
- Start with high heat
- Add 1 tablespoon oil
- Look for slight smoking
- Cook the chicken:
- Add in batches to avoid crowding
- 3-4 minutes per batch
- Remove and set aside
- Stir-fry vegetables:
- Start with harder vegetables
- Add softer ones gradually
- Keep them crisp-tender
- Combine and finish:
- Return chicken to wok
- Add sauce mixture
- Toss until thickened
Pro Tips for Success
Having made this dish hundreds of times, I’ve learned several crucial tips that make the difference between a good stir fry and an outstanding one:
Temperature Control
| Stage | Temperature | Duration |
|---|---|---|
| Initial heating | High | 2-3 minutes |
| Chicken cooking | Medium-high | 3-4 minutes |
| Vegetables | High | 2-3 minutes |
| Sauce addition | Medium | 1-2 minutes |
Timing Secrets
- Never start with cold ingredients
- Have everything prepped before heating the wok
- Cook in small batches to maintain heat
- Keep ingredients moving constantly
- Add sauce at the very end

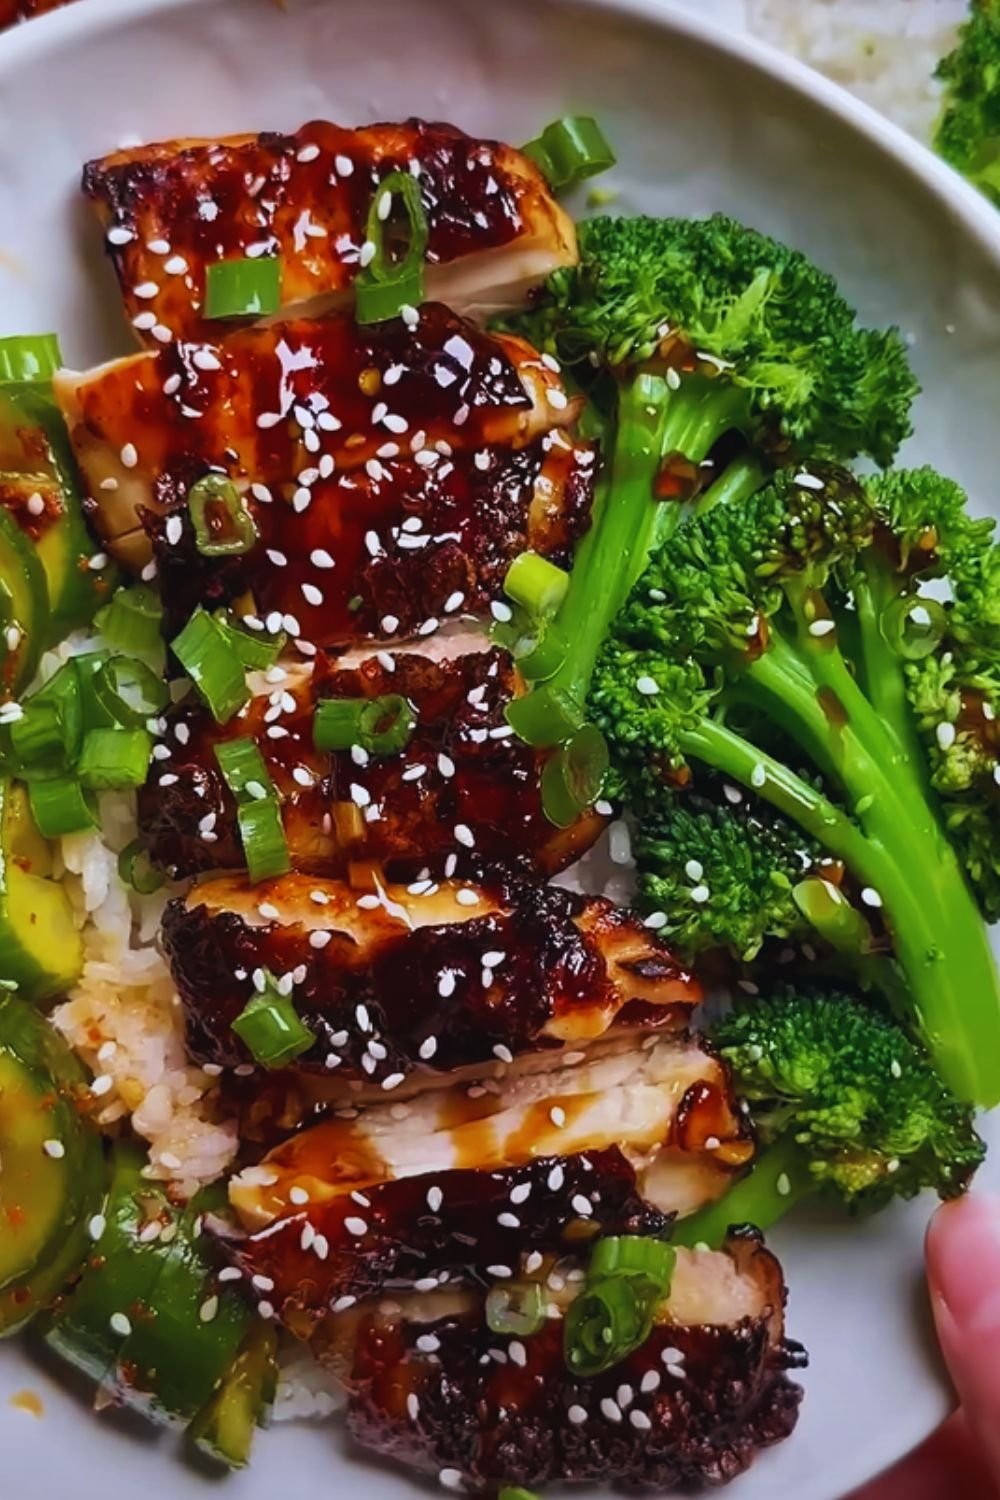
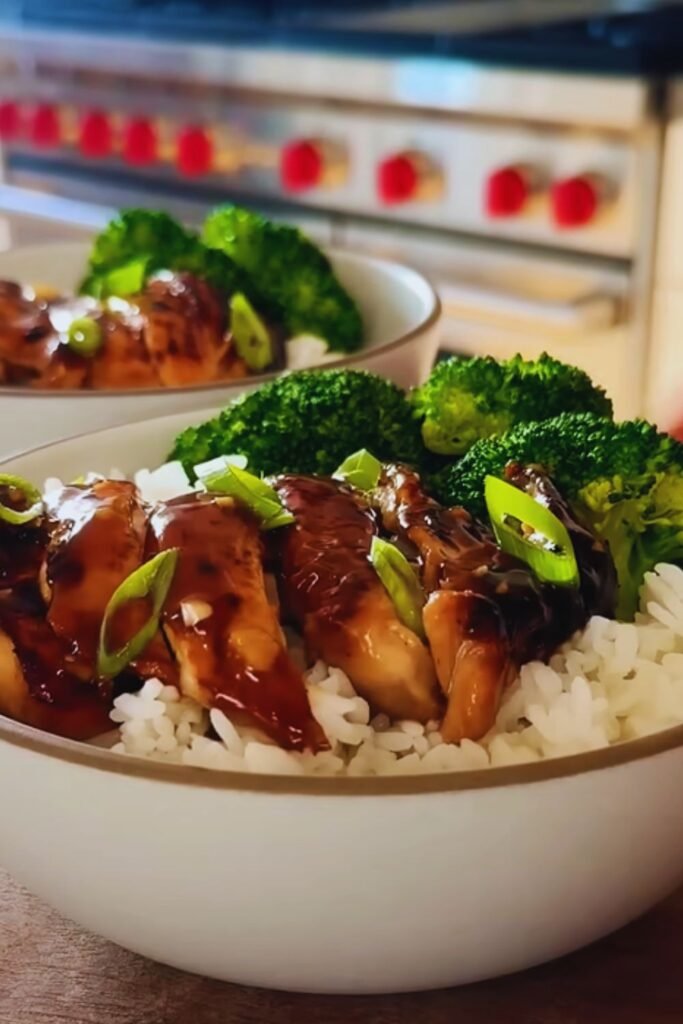
Serving Suggestions
I love serving this teriyaki chicken stir fry in several ways:
Traditional Style
- Steamed jasmine rice
- Brown rice for added nutrition
- Cauliflower rice for low-carb option
Garnishes
- Toasted sesame seeds
- Sliced green onions
- Fresh cilantro
- Crushed red pepper flakes
Storage and Reheating
| Storage Method | Duration | Notes |
|---|---|---|
| Refrigerator | 3-4 days | In airtight container |
| Freezer | 2-3 months | Sauce separate |
| Prep-ahead | 24 hours | Keep components separate |
Reheating Guidelines
- Microwave: 2-3 minutes, stirring halfway
- Stovetop: 5-6 minutes over medium heat
- Add splash of water if needed
- Garnish fresh after reheating
Nutritional Information
| Nutrient | Amount per Serving |
|---|---|
| Calories | 385 |
| Protein | 32g |
| Carbohydrates | 28g |
| Fiber | 5g |
| Fat | 18g |
| Sodium | 890mg |
| Sugar | 15g |
Common Questions and Answers
Q: Can I use chicken breast instead of thighs?
While you can use chicken breast, I prefer thighs for their richer flavor and more forgiving nature when cooking. If using breast meat, reduce cooking time by 1-2 minutes to prevent drying.
Q: How can I make this dish gluten-free?
Simply substitute regular soy sauce with tamari or coconut aminos. Double-check that your mirin is gluten-free, as some brands contain wheat.
Q: Can I prep this ahead for a busy weeknight?
Absolutely! I often prep vegetables and make the sauce up to 24 hours ahead. Store everything separately in the refrigerator. The actual cooking takes just 15-20 minutes.
Q: Why isn’t my sauce thickening properly?
The most common issue is not letting the sauce reach a full simmer. Ensure your heat is medium-high and give it time to bubble and thicken. Also, make sure your cornstarch slurry is well-mixed before adding.
Q: How spicy is this dish?
As written, this recipe is mild and family-friendly. I like to serve additional sriracha or chili oil on the side for those who want to add heat.
Q: Can I add different vegetables?
Absolutely! This recipe is incredibly versatile. I’ve successfully used mushrooms, baby corn, water chestnuts, and snap peas. Just adjust cooking times based on vegetable density.
Variations to Try
Seasonal Adaptations
- Spring: Add asparagus and snap peas
- Summer: Include zucchini and yellow squash
- Fall: Try butternut squash and brussels sprouts
- Winter: Add root vegetables and kale
Protein Alternatives
- Tofu (extra-firm, pressed)
- Shrimp
- Beef sirloin
- Turkey breast
Remember, cooking should be fun and flexible. Don’t be afraid to make this recipe your own while keeping the core techniques intact. With practice, you’ll develop an intuition for the perfect timing and temperature that works in your kitchen.